

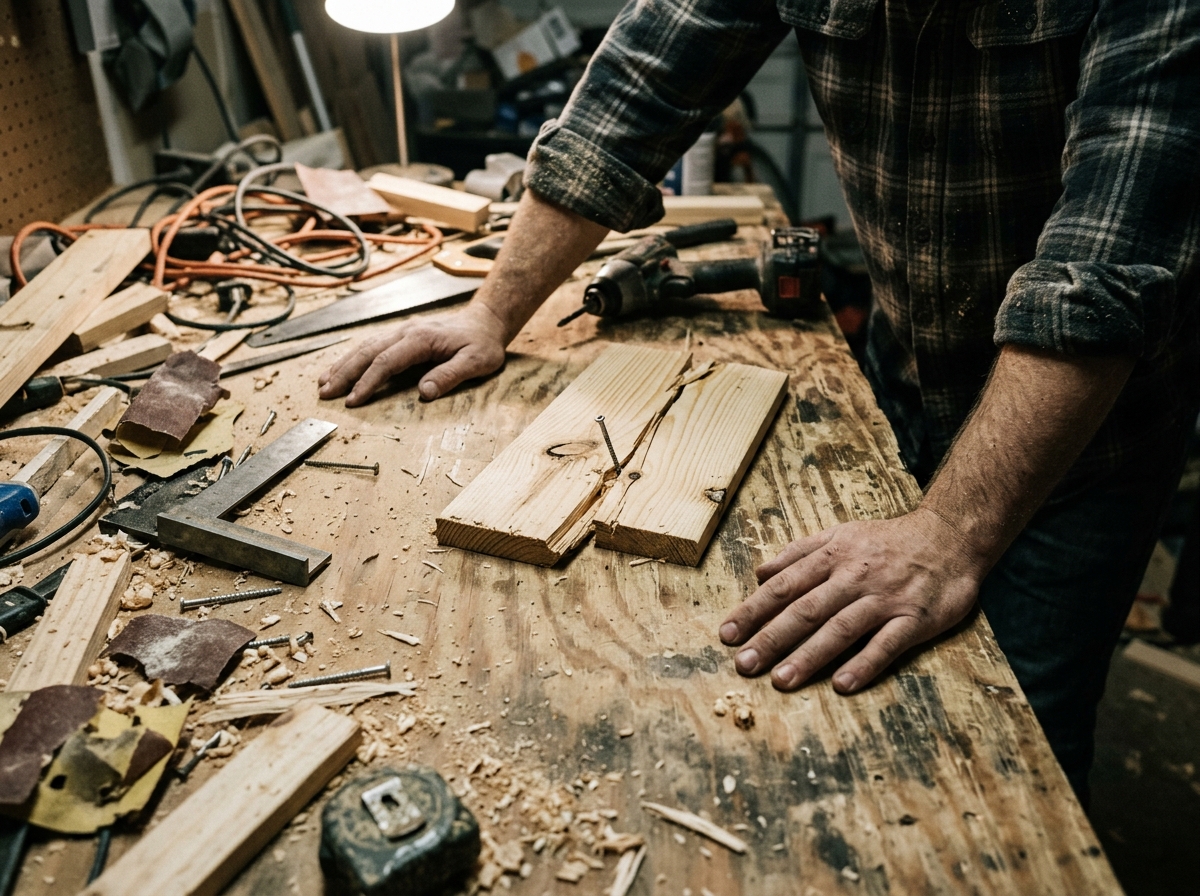
A brand-new saw blade can leave a crooked cut, a drill bit can wander off your mark, and a carefully measured board can still come out short. In most beginner workshops, the tools are not the problem — the setup is. One of the most overlooked examples is hacksaw blade orientation https://bestusatools.com/hand-tools/hacksaw/best-angle-for-using-a-hacksaw-on-aluminum/, a detail many beginners never think about until a cut starts drifting. The good news is that these seven mistakes are easy to fix once you know what to look for, and correcting them costs far less than replacing tools.
Quick Answer
The seven workshop setup mistakes that most often ruin beginner projects are poor lighting, unstable work surfaces, missing or misplaced clamping, cluttered layout, wrong tool storage, dull or incorrectly installed blades (including reversed hacksaw blade orientation), and skipping dust and offcut management. Each one is small on its own, but together they cause inaccurate cuts, unsafe conditions, and wasted material. Fix the workspace first, then focus on technique.
Key Takeaways
- Most beginner “tool problems” are actually layout, lighting, or clamping problems in disguise.
- Hacksaw blades cut on the push stroke, so teeth must point forward, away from the handle.
- A wobbly bench or unclamped workpiece causes more ruined cuts than a dull blade.
- Shadow-free lighting and a clear bench reduce measurement and marking errors significantly.
- Spending an hour on setup usually saves more time than the same hour spent practicing cuts.
Why Small Setup Mistakes Cause Big Project Failures
Workshop mistakes rarely announce themselves. A slightly dark corner makes a pencil line look straight when it is not. A bench that shifts a few millimeters under pressure turns a square cut into a slanted one. A blade installed backward means every push stroke skips instead of cuts. None of these problems look dramatic in the moment, but each one compounds the next, and by the time you notice, the board is already ruined.
Beginners often blame skill. In reality, a well-set-up workspace lets an average beginner produce work that looks far better than their experience level would suggest. The reverse is also true: even an experienced woodworker or metalworker struggles in a poorly organized shop.
Mistake 1: Lighting That Leaves You Guessing
If your only light is directly overhead, your own hands and tools cast shadows exactly where you need to see. That shadow hides the pencil line, blurs the blade kerf, and makes it nearly impossible to judge squareness by eye.
The fix is to add light from the side or from behind your shoulder, so the cutting line stays visible. A simple adjustable task lamp positioned near the work is more useful than a brighter ceiling fixture. For fine marking and layout work, a headlamp or portable LED light works well because it moves with your point of view.
Lighting is also a safety issue. Poor visibility encourages you to lean closer to blades and bits, which is exactly the wrong instinct.
Mistake 2: An Unstable Bench or Work Surface
A bench that rocks, flexes, or slides will transfer that movement into every cut. The tool shifts, the workpiece shifts, and the line drifts. Even a small amount of flex under hand pressure is enough to throw off a cut by a visible margin.
Check three things before you trust a bench:
- All four feet sit flat on the floor with no rocking.
- The top does not flex noticeably when you push down firmly.
- The bench does not slide when you apply sideways force, such as during sawing.
Shimming a wobbly leg, adding a rubber mat under a sliding bench, or bracing a flexing top solves most of these issues. If your only workspace is a folding table, treat it as a light-duty surface and avoid heavy sawing on it.
Mistake 3: Clamping That Looks Fine but Isn’t
Many beginners clamp the workpiece somewhere convenient rather than somewhere secure. The result is a board that pivots slightly under the saw or shifts when drilled. The cut looks fine at the start and drifts by the end.
Clamp close to the cut, not far from it. Support the overhanging side of the board so it does not sag or vibrate. For thin material, back it up with a sacrificial piece of scrap so the blade does not tear out the underside. And always test the setup by pushing on the workpiece with moderate force before you start cutting — if it moves, the clamp is not doing its job.
Mistake 4: The Reversed Hacksaw Blade
This is one of the most common beginner errors, and it is entirely invisible until you start cutting. Hacksaw blades are designed to cut on the push stroke. That means the teeth must point forward, away from the handle, so the blade bites into the material as you push it away from you.
Install the blade backward, and the saw skips across the surface on every push, then drags on the return stroke. The blade dulls faster, the cut wanders, and you may assume the blade is simply poor quality when the real problem is orientation.
To check: look at the teeth. They should angle in the direction of the cut, not toward your hand. If you are unsure which way the cut runs on a particular saw or material, confirm the correct tooth direction for the specific blade and material before you start. Aluminum, for example, behaves differently from mild steel, and tooth pitch matters as much as direction.
Mistake 5: A Cluttered Bench and Missing Layout Space
When the bench is covered in offcuts, tools, and packaging, layout work happens wherever there is a gap. That means measuring on a surface that is not flat, marking without enough room to draw a proper line, and constantly moving things aside mid-task.
A simple rule helps: keep the bench clear enough that a full sheet of paper can lie flat on it at all times. Store tools on a wall rack, pegboard, or rolling cart rather than on the work surface. Sweep offcuts into a bin as you go. Layout accuracy depends on having a clean, flat, unobstructed area to work in.
Mistake 6: Storing Tools Where You Can’t See Them
Beginners often buy a big toolbox, close the lid, and then spend five minutes hunting for the right bit or wrench in the middle of a job. That delay is annoying, but the real cost is more subtle: when tools are hidden, you tend to grab whatever is closest instead of the right tool for the task.
A visible arrangement — pegboard, magnetic strip, open bins, or a shallow drawer organizer — keeps frequently used tools within reach and in sight. You also notice when something is missing or damaged before you need it. This is especially useful for consumables like blades, bits, and sandpaper, which wear out and quietly degrade cut quality.
Mistake 7: Ignoring Dust and Offcut Management
Sawdust on a work surface reduces grip, hides pencil lines, and gets into measuring tools. Metal shavings are worse — they scratch finished surfaces and can short out or jam power tools if they migrate inside. Offcuts left in the work area become trip hazards and get in the way of clamps and supports.
Deal with both as part of setup, not cleanup. A brush and dustpan within reach, a bin directly under the work area for offcuts, and a quick sweep between operations keep the workspace predictable. If you work with both wood and metal, keep the two areas separated where possible so shavings do not contaminate wood surfaces.
How to Fix Your Setup in One Afternoon
You do not need a full shop renovation. Work through these steps in order, and you will feel the difference on the very next project:
- Clear the bench completely and put every tool back in a defined location.
- Level and stabilize the bench; shim legs and add a mat if it slides.
- Add side or shoulder lighting near the main work area.
- Position clamps and supports so your typical cuts are fully secured.
- Check blade orientation and sharpness for every cutting tool you use.
- Set up a dust brush, offcut bin, and trash container within arm’s reach.
None of these steps take long on their own. Together, they remove the most common hidden causes of ruined cuts, crooked holes, and unsafe moments.
Frequently Asked Questions
Which direction should a hacksaw blade face?
The teeth should point away from the handle and toward the front of the saw, so the blade cuts on the push stroke. If the teeth point toward your hand, the blade is installed backward.
Does a wobbly bench really affect cut accuracy?
Yes. Any movement in the bench transfers to the workpiece and the tool, which causes the blade or bit to drift off the line. Stabilizing the bench is one of the fastest accuracy improvements available.
How much light do I need at a workbench?
More important than raw brightness is direction. Side or over-the-shoulder lighting that eliminates shadows on the cut line is more useful than a single bright overhead fixture.
Should I clamp close to the cut or at the edge of the board?
Clamp as close to the cut as the tool allows, and support any overhanging material. Clamping far from the cut lets the workpiece flex or pivot during cutting.
Is it worth organizing a tiny workshop?
Absolutely. In small spaces, clutter builds faster and has a bigger impact. Visible tool storage and quick offcut removal matter even more when the bench is your only work surface.
Can a dull blade look like a setup problem?
Often yes. A dull or reversed blade causes wandering cuts, extra heat, and slow progress, which beginners frequently misread as poor technique or a bad tool. Check the blade first.
Conclusion
Beginner projects rarely fail because of the tools. They fail because of setup details that stay invisible until something goes wrong: bad light, a wobbly bench, weak clamping, hidden tools, ignored debris, and blades installed the wrong way around. Fix the workspace first, and your cuts, holes, and joints will improve faster than any amount of practice on a poorly prepared bench. Start with the checklist above — one afternoon is usually enough to make the difference.

Leave a Reply